
StalApi
📃 A library mod that provides reusable features and methods for Minecraft mods, reducing the need to reimplement common functionality
截图
介绍
If you don’t have a mod that requires StalApi as a dependency, there is no need to add it to your mod list or modpack.
StalAPI is a library mod designed to centralize and provide reusable systems, features, and utilities for my others mods.
Its goal is to avoid duplicating code across projects while providing a common foundation for various rendering and animation systems. Over time, StalAPI will include custom shaders and post-processing effects, tools for rendering modded entities, as well as utilities for handling item and entity animations.
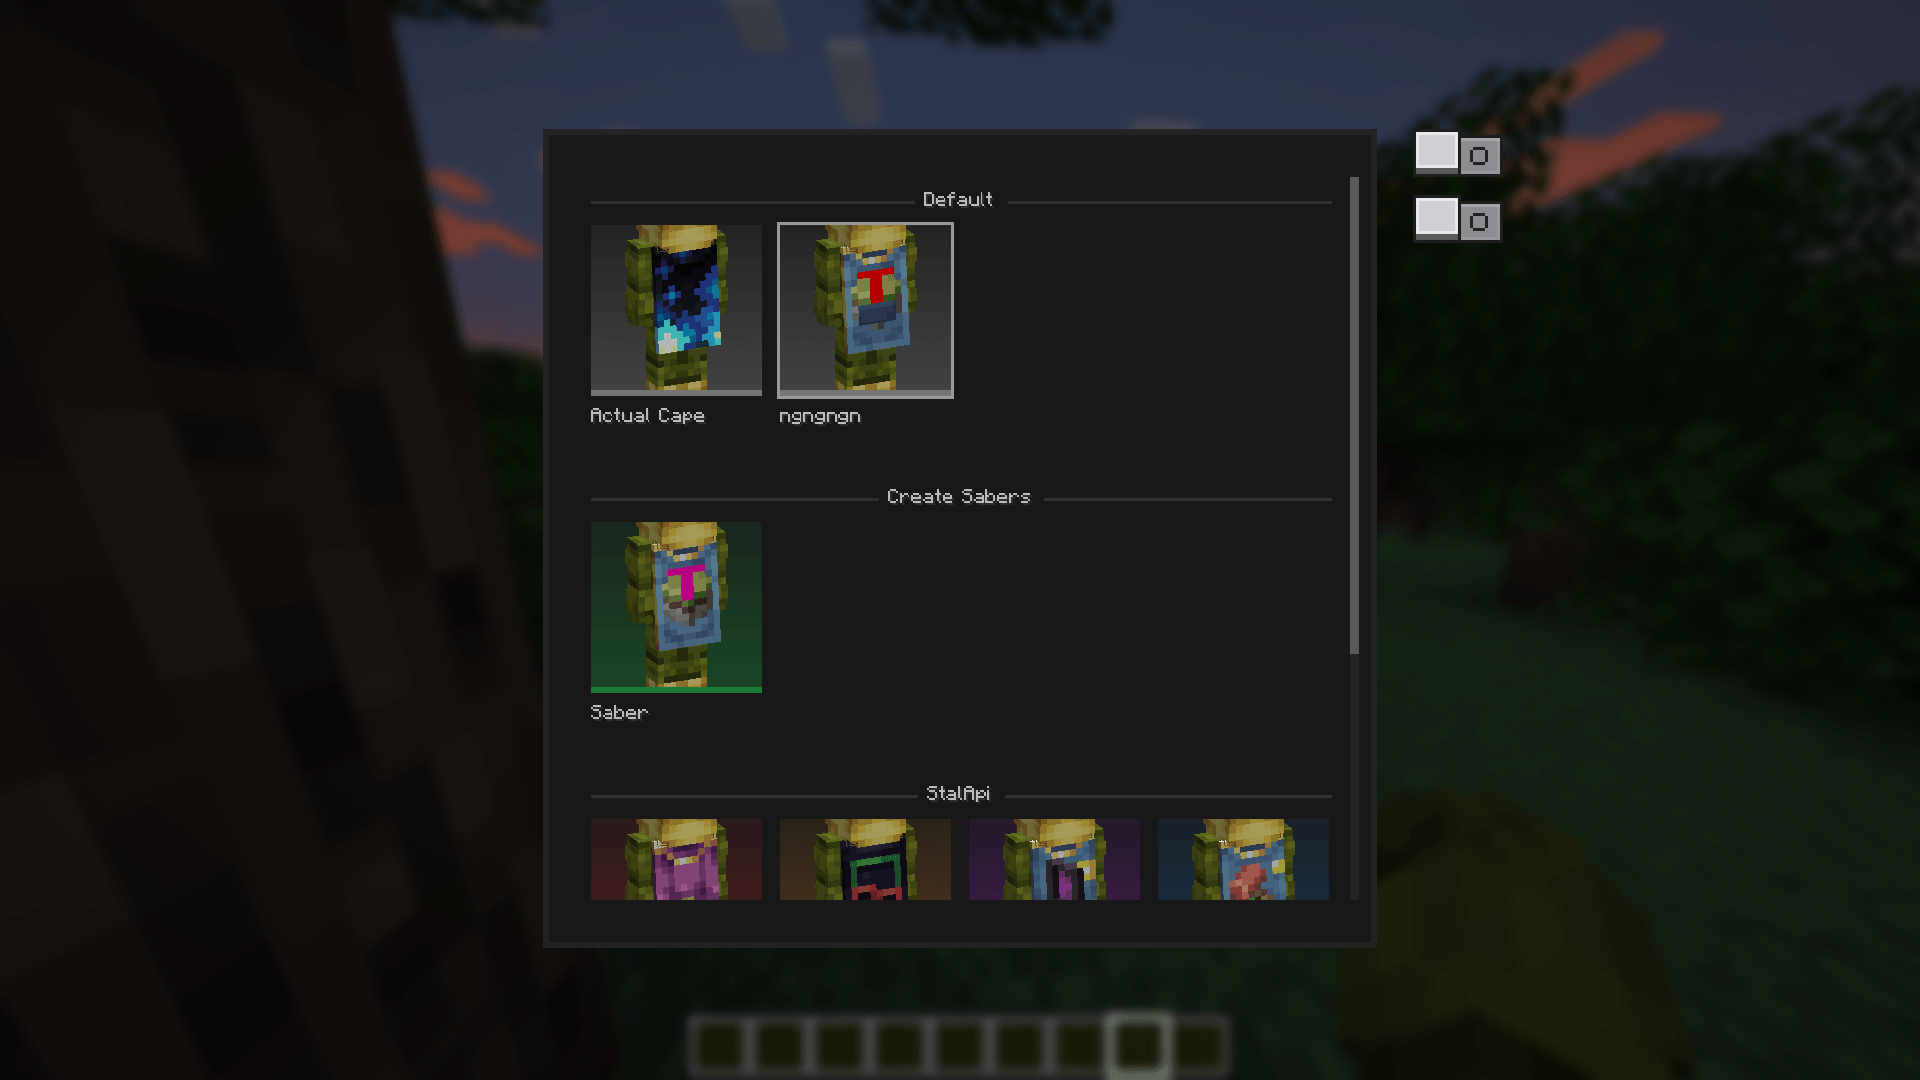
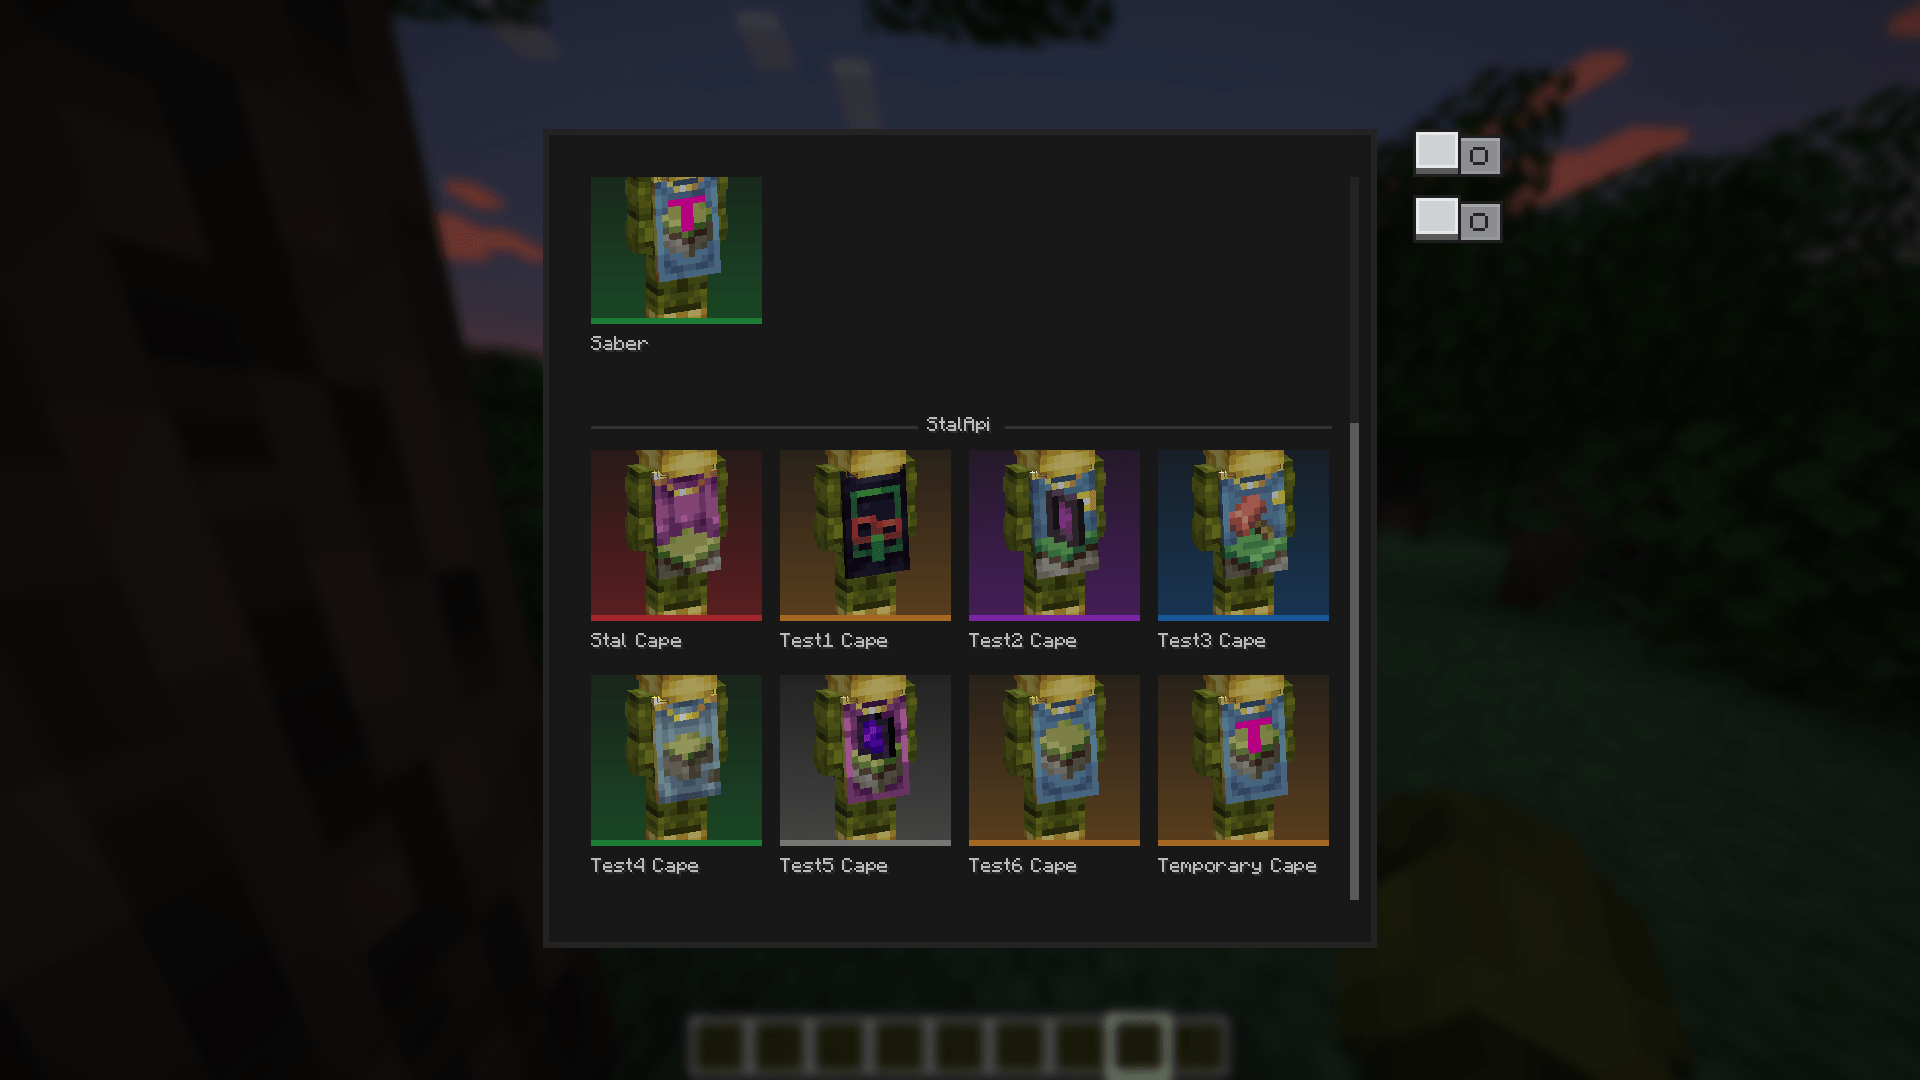
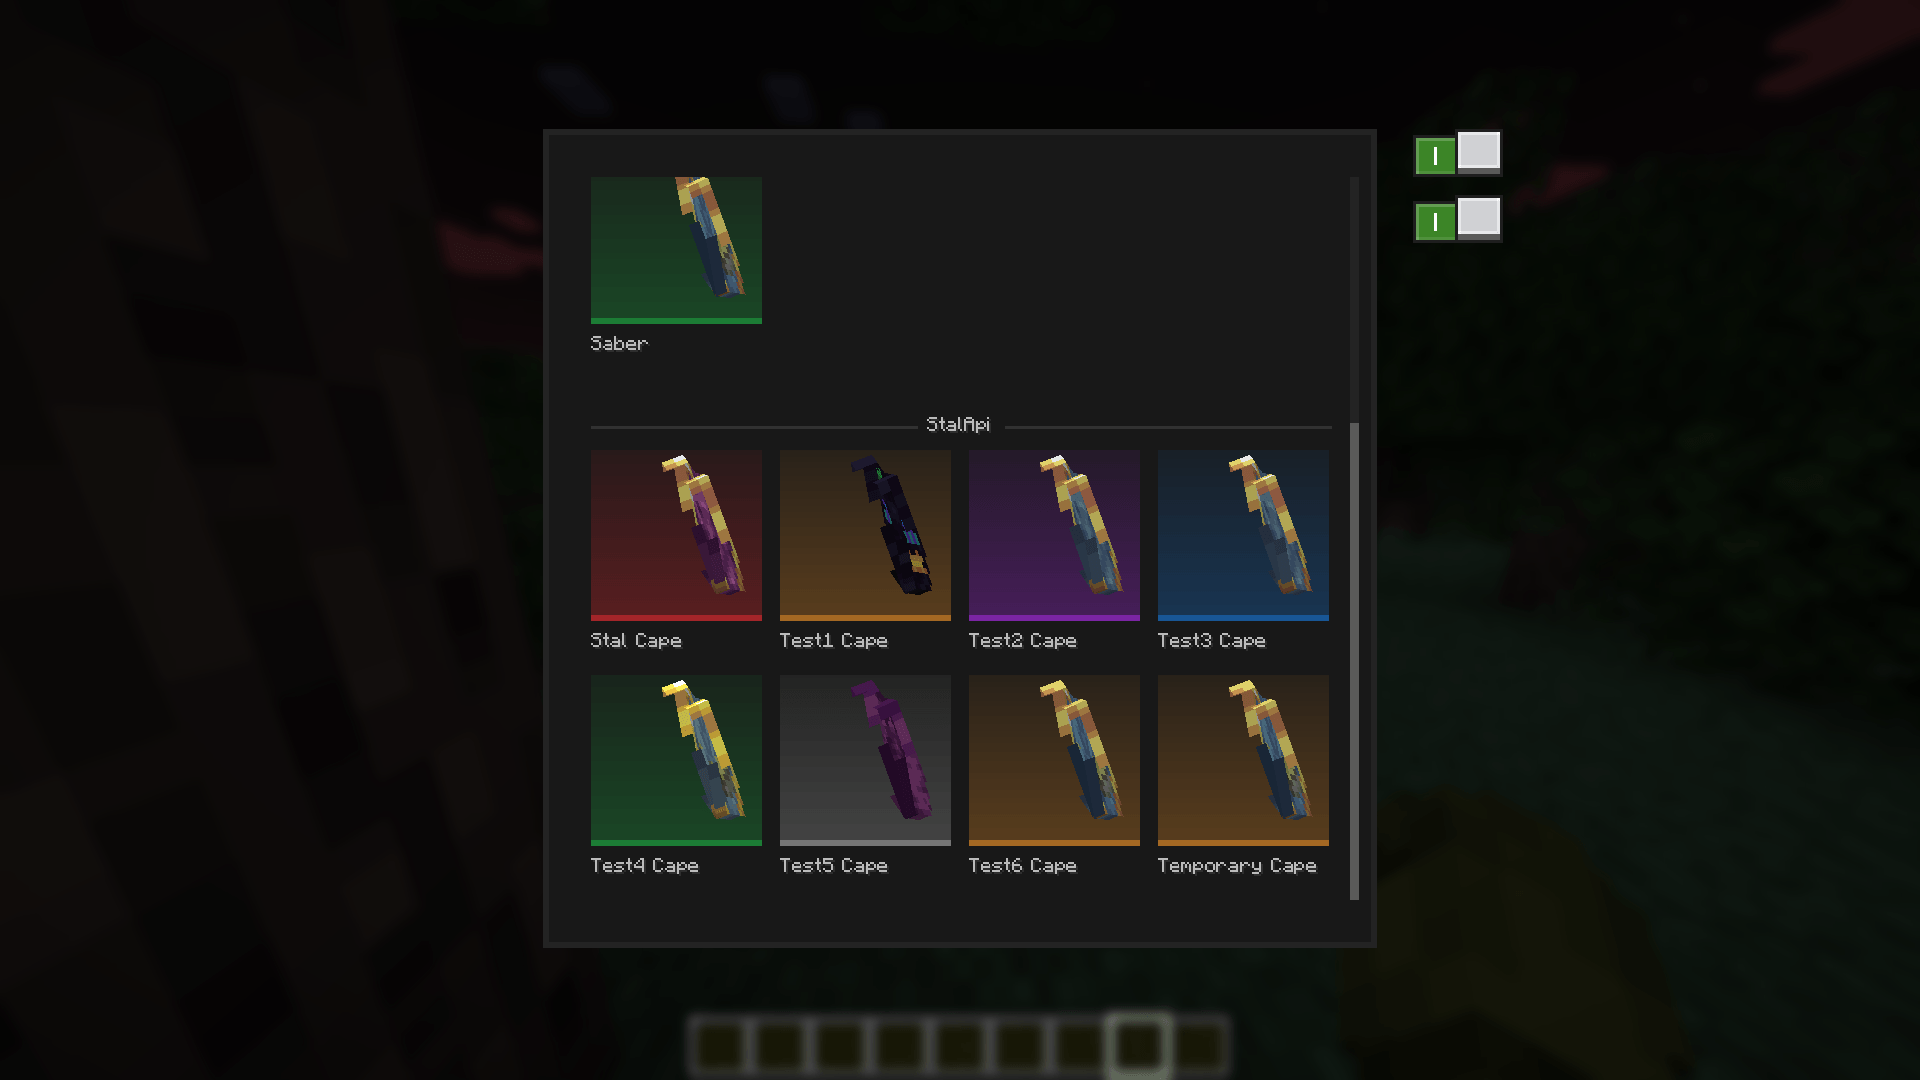
StalAPI also provides a cape management system for distributing exclusive reward capes to special players, such as contributors, beta testers, and event winners.
The API is designed to evolve over time as new reusable systems and features are developed.
For now, mod developers can use StalAPI as a cross-version cape library for their mods, allowing them to manage and customize capes without requiring updates to their mods whenever StalAPI is updated.
How to integrate StalApi into your mod:
Declare the dependency in neoforge.mods.toml
If your mod uses StalAPI for its cape system, using a required dependency (type="required") is recommended. This ensures that the capes are directly linked to your mod and that StalAPI is always available when your mod is loaded.
[[dependencies.{yourmodid}]]
    modId = "stalapi"
    type = "required"
    versionRange = "[1.0.0,)"
    ordering = "AFTER"
    side = "CLIENT"
Replace {yourmodid} with your own mod’s ID.
An optional dependency (type="optional") can also be used if StalAPI is not essential to your mod, but required is recommended when your mod’s cape system relies on StalAPI.
How to add your own capes to your mods:
Add your GitHub repository to the verified list
Simply call the public CapeRepository.register(...) API once, typically in your mod’s constructor or common setup:
import leroidesafk.stalapi.capes.CapeRepository;
import net.neoforged.fml.ModList;

// Called only once during startup (mod constructor, common setup, etc.)
if (ModList.get().isLoaded("stalapi")) {
   CapeRepository.register("YourGitHubUsername", "your-cape-repository");
// Or|with a specific branch:
// CapeRepository.register("YourGitHubUsername", "your-cape-repository", "main"); }
The ‘ModList.get().isLoaded("stalapi")' check is only necessary when using an optional dependency.
If StalAPI is declared as required, it is guaranteed to be available when your mod is loaded.
Add and organize your capes
Once your repository is registered, you can add your capes using the following folder structure in your github repository:
your-repository/
├── data.json ← Optional: global/team section, always checked
├── <capeName>.png ← Capes belonging to the global section
├── <capeName>.png.mcmeta ← Optional: animation
├── <modId>/ ← Optional: one folder per compatible mod.
│ │ Capes in this folder are only available when
│ │ the corresponding mod is installed.
│ ├── data.json
│ ├── <capeName>.png
│ └── <capeName>.png.mcmeta ← Optional: animation
└── <anotherModId>/
├── data.json
└── …
You can create a single GitHub repository and use it for all your mods, it works just as well and is the way you’re supposed to do it.
My Github as Exemple
data.json format
The same data.json format is used everywhere, whether the file is located at the root of the repository or inside a mod-specific folder:
{
    "global_name": "Section Name",
    "players": {
        "<player-uuid>": ["capeName1", "capeName2"]
    },
    "capes": {
        "capeName1": {
            "name": "Displayed Name",
            "rarity": "legendary"
        },
        "capeName2": {
            "name": "Another Name",
            "rarity": "rare"
        }
    }
}global_name– Only used and read in the rootdata.json. It defines the name of the global/team section displayed in the interface. For a mod-specificdata.json, this field is ignored; the section name is taken from the mod’s name.players– Maps a player’s UUID (with hyphens) to the list of cape names they own.capes– Contains metadata for each cape, including its displayednameand optionalrarity.Supported rarity values are:
common,uncommon,rare,epic,legendary, andmythic.
If no rarity is specified, the default color is used.Cape textures support transparency, variable resolutions and animations, unlike vanilla capes.
Key points
- StalAPI’s default repository (
Leroidesafk/stalapi-data) is always checked in addition to your own repository. - If multiple mods (or the same mod by mistake) register the exact same owner/repository/branch combination, it will only be checked once, preventing duplicates.
- The
<modId>folder must exactly match the corresponding mod’s ID. - The root
data.jsonis always checked and can be used for global/team capes. - Mod-specific capes should be placed inside the folder matching the mod’s ID.
- Animated capes can optionally include a
.png.mcmetafile. - The mod uses your Mojang capes and those from any other mod that adds capes as the default capes to avoid cape conflicts.
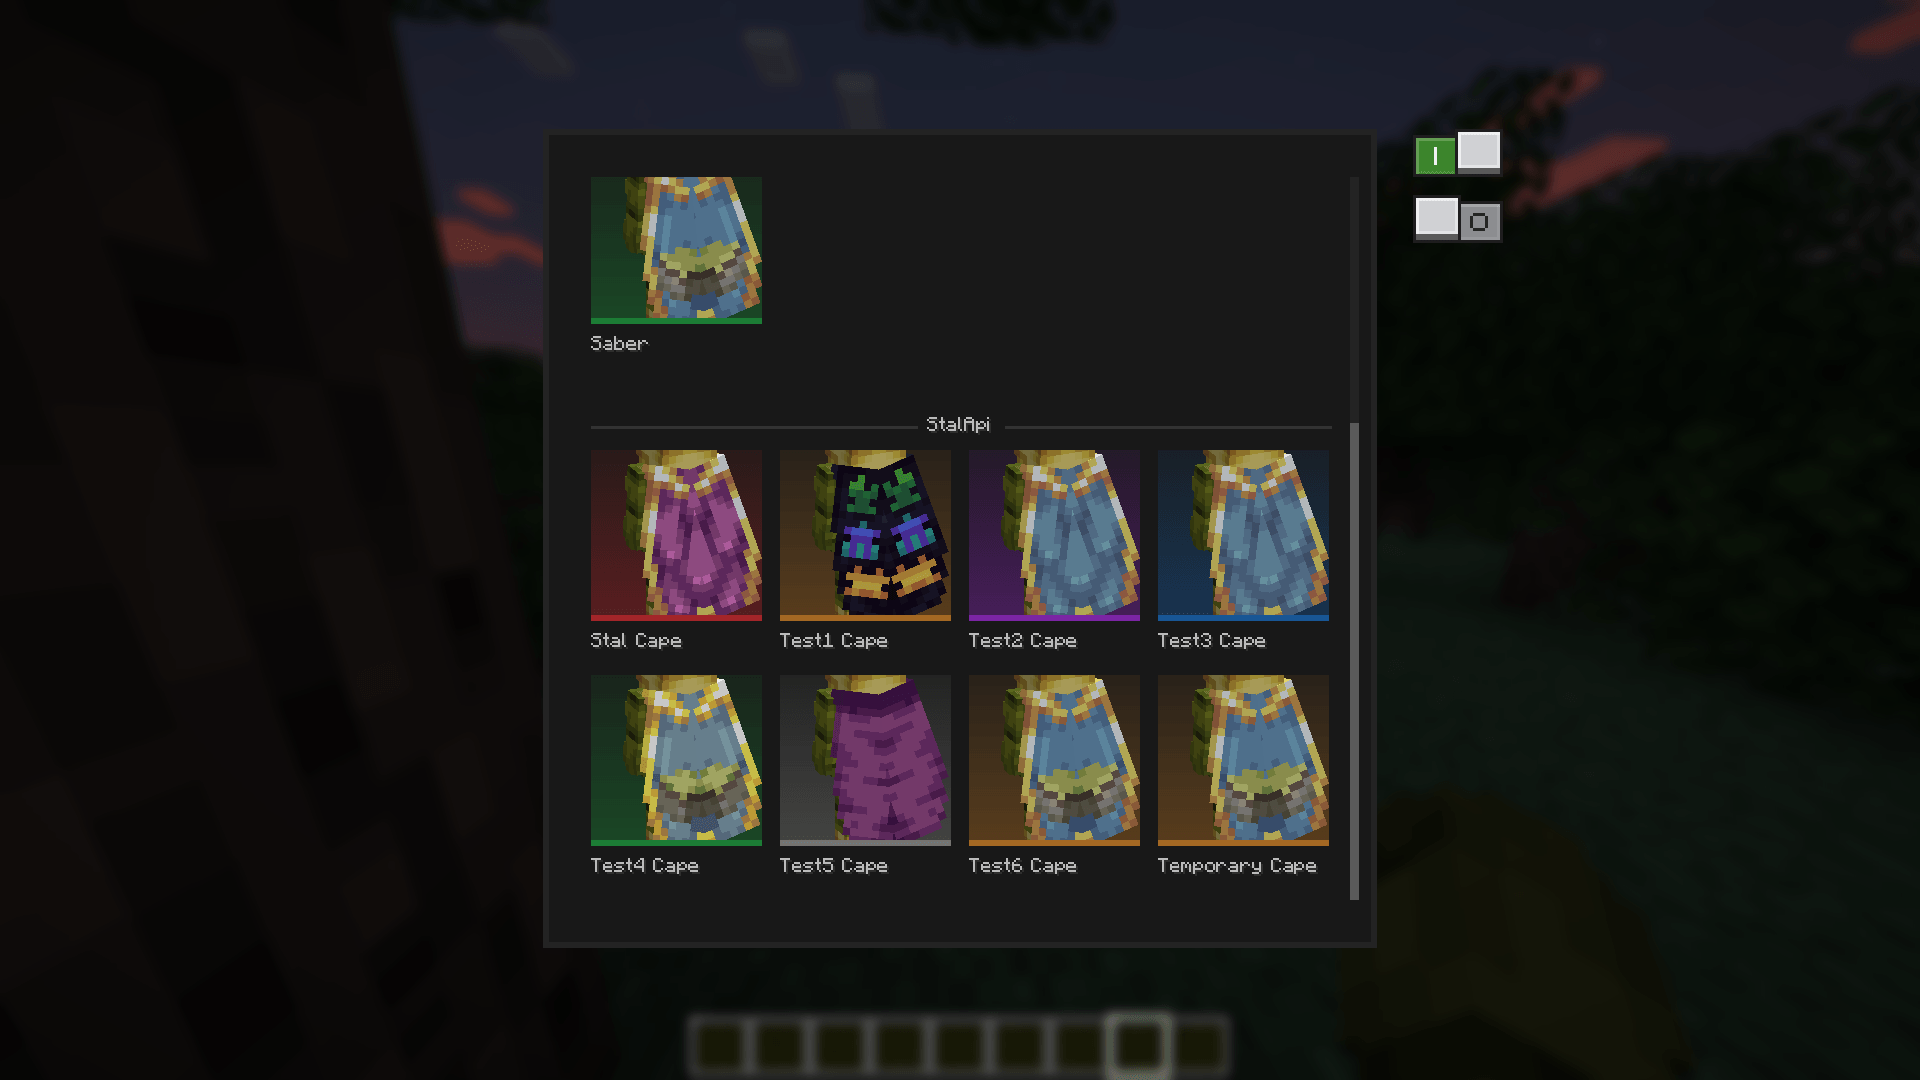
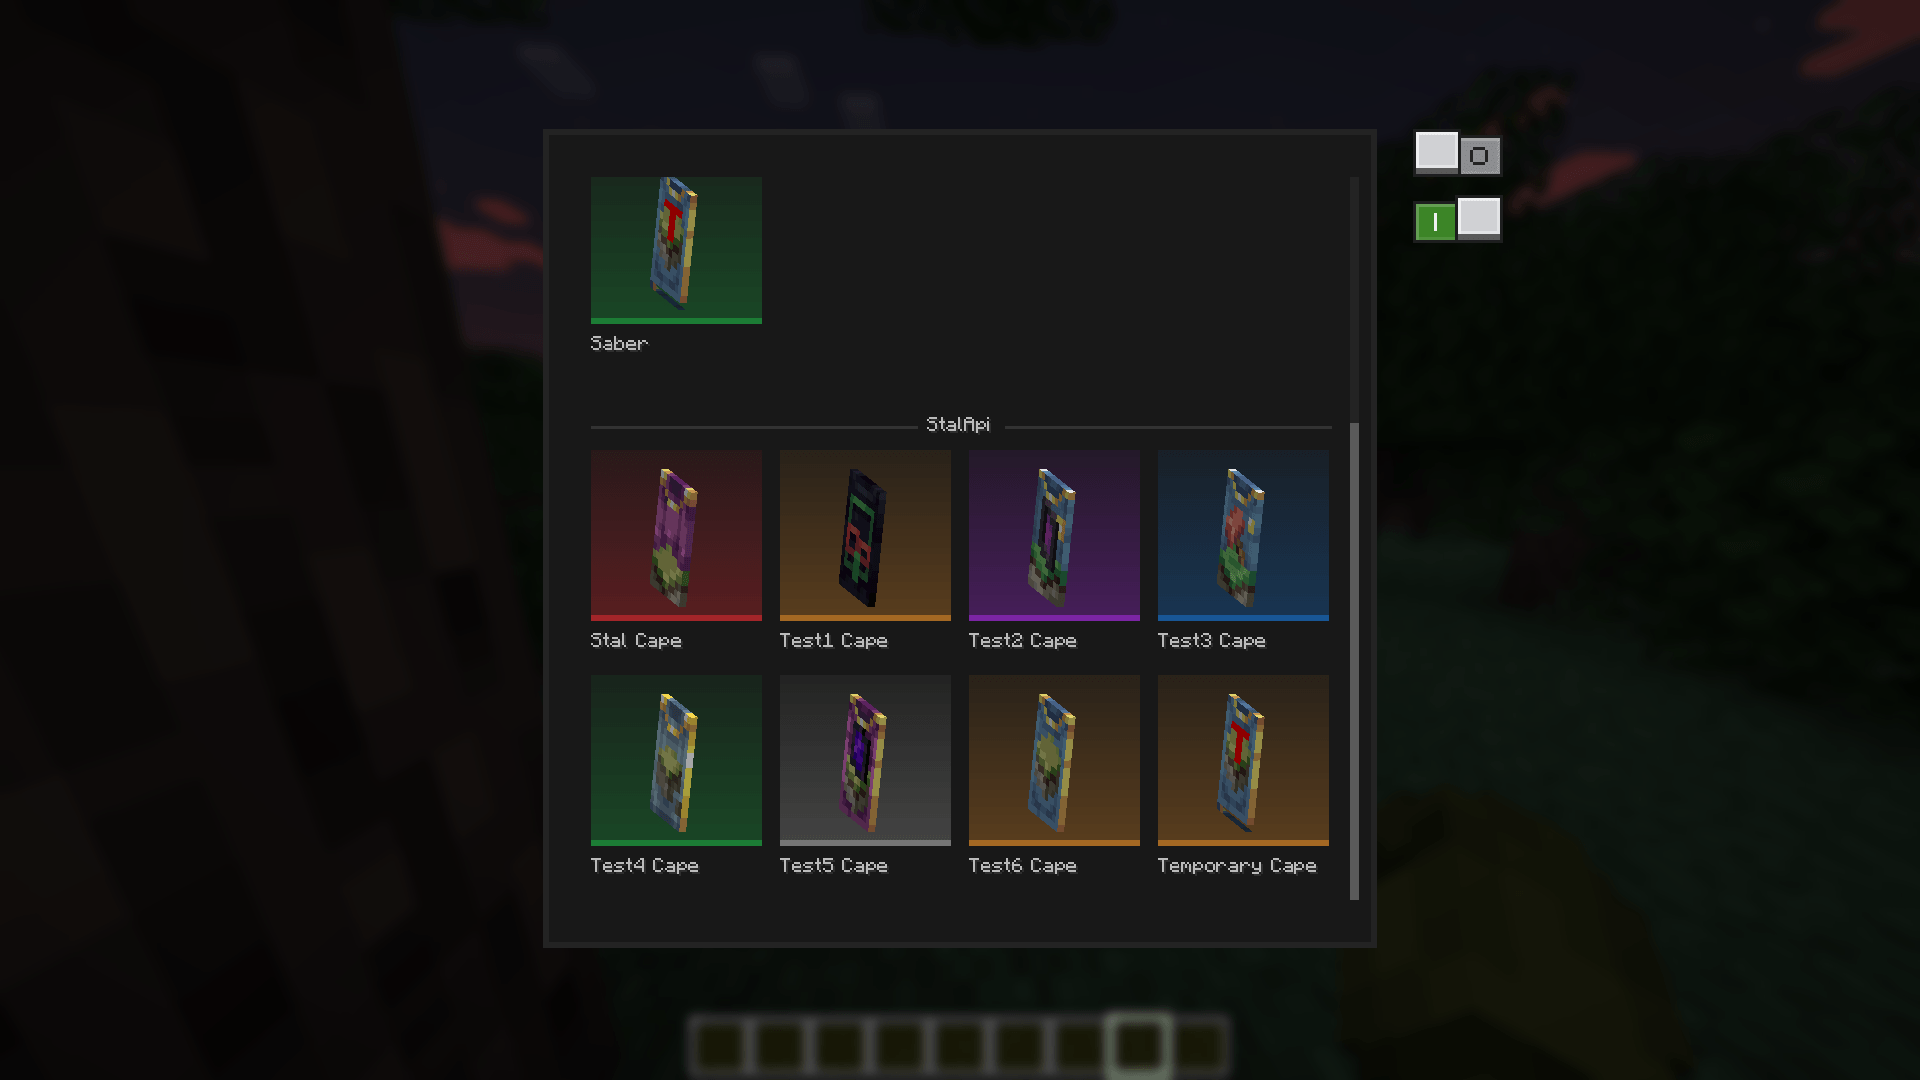
- You have two options that you can activate at the same time to preview the cape as elytra or to view a 360-degree version of the cape.
Exemples:
- StalAPI’s default repository (
You can also take a look to my other mods

常见问题
StalApi 支持哪些 Minecraft 版本?
StalApi 支持 Minecraft Java 版 1.20.1–1.21.1,共 2 个版本,可用的加载器:Forge / NeoForge。下载时注意选择和你游戏版本一致的文件。
StalApi 怎么安装?
先用 PCL2 或 HMCL 启动器安装对应版本的 Forge / NeoForge,再把下载的 .jar 文件放进游戏目录的 mods 文件夹,重新启动游戏即可。开启了版本隔离的,mods 文件夹在 versions/版本名 下面。


评论
登录后评论和评分